
Hello together,
3 months ago i started a project to create user interfaces for Powershell with WPF as simple as possible for everyone by using a – POWERSHELL GUI.
Powershell GUI with Powershell GUI?! – sounds paradox – but hey – one example will be ready the whole time. 😀
Many times there had been administrators, customers and friends who asked for a GUI in PS. Probably the loudest group crying had been the administrators who normally should work easily with Powershell. But IT-guys are lazy – and because of these laziness we create powerfull scripts which make life easier. And if a wonderfull looking GUI is on top of this functionality – even better!
Though you should never forget – by adding a GUI to a module / function of yours you can prevent lots of input errors by the user. The user gets happy because he can click and sees a wonderful design and you can add an additional abstraction layer preventing lots of headaches.
Aims
The primary aims with this project had been:
- everyone can do it
- structured and separated code by logic
- easy to create and deploy dialogs
- easy to manage multiple dialogs
- free code to use for everyone
- examples for small and easy but also further on more complex solutions
- preconfigured examples for some use-cases
- as many internal functions to avoid manual work
- no dependencies to proprietary programs

PSGUI v0.1
Interested? then take a look into!
First i must tell you – you are going to take some time and the whole roundup will not be explained within one post. First i will start with the introduction – later on i will get to the more complicated points.
The project
My personal animation to start this project was, that i thought that GUIs within Powershell should be easy to create and to deploy for everyone – may be within a click.
The actual situation is: je – there are other possible ways to do this like the overrated SAPIEN Powershell Studio. But this for example costs a not too small amount of money and binds you to one software. If you are going to build up big dialogs with it, keep in mind that this ones must be serviced along the time. You cannot port your projects to an other solution easily.
I did some research and if you go for a search you will find a lot of information by reading many blogs. Most of the times the usage of Windows Forms is described. But these projects nearly everytime mix the code of the GUI, the events of its controls (i called it CodeBehind) and also the script within one file. You do not have to be genius to know, that this will end up in a mess of unmanageable code faster than you can imagine.
Also i did not find a ready to go solution for WPF nor a solution which fitted all my conditions. And WPF is in my view the most powerful and best way to create complex GUIs! One devastating downside of Windows Forms is, that the code scales massively in a vertical way. So even small programs will easily end up in an unmanageble code with a huge amount of lines.
XAML has also styles which can be compared to CSS styles. You can set these styles to triggers and for control types. So you could easily create a “stylesheet” which fits your Corporate Identity and copy it to all XAMLs to get the same looks in every XAML.
And this is just one point – but make your own decision.
The module “PSGUI”
So I started with a module. A library of functions to load and start XAMLs within a line and catching and working with all possible errors and downsides of Powershell in XAML.
For this i set up some rules for a dialog. But don´t panic – it is really easy.
One dialog consists of 3 files which is stored in one folder with equal folder and file names.
I did this to structure the code and getting it easy manageable. Nothing is more ungrateful than searching everything in only one file where you have stored everything.

The XAML-file is – what it is. A XAML window created by using the Extensible Application Markup Language with its controls.
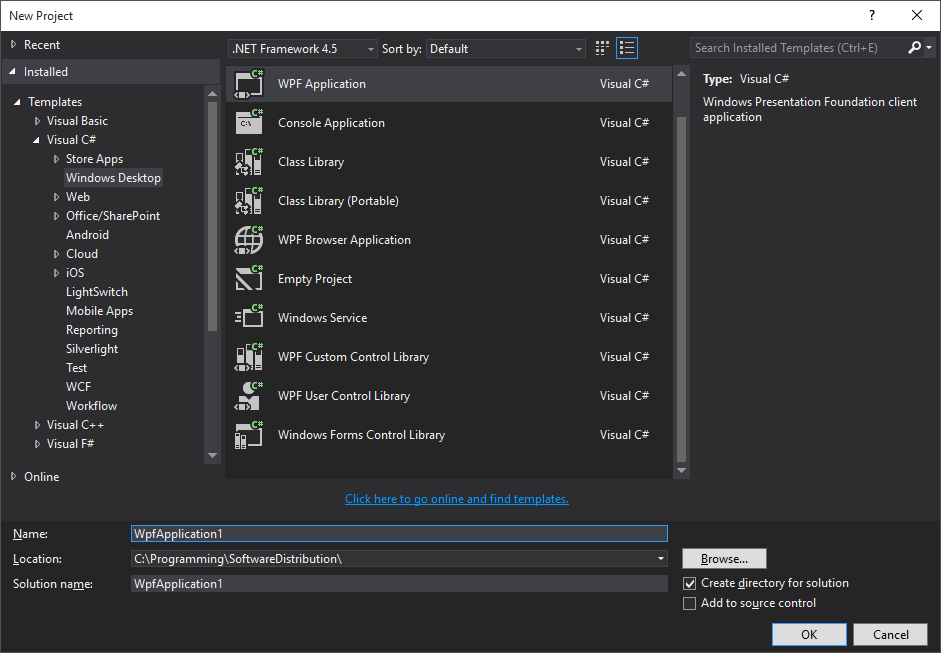
VS Community
I would suggest you to use Visual Studio Community herefore. It is the best designer on the market in my opinion. Just an example – if you try to compare it to the designer in Powershell Studio you see a fight between David and Goliat but David has left his slingshot at home. And jep – it is not only powerful it is also free.
Create a new web application, add a new window and create an user interface with Visual Studio as you would normally do.
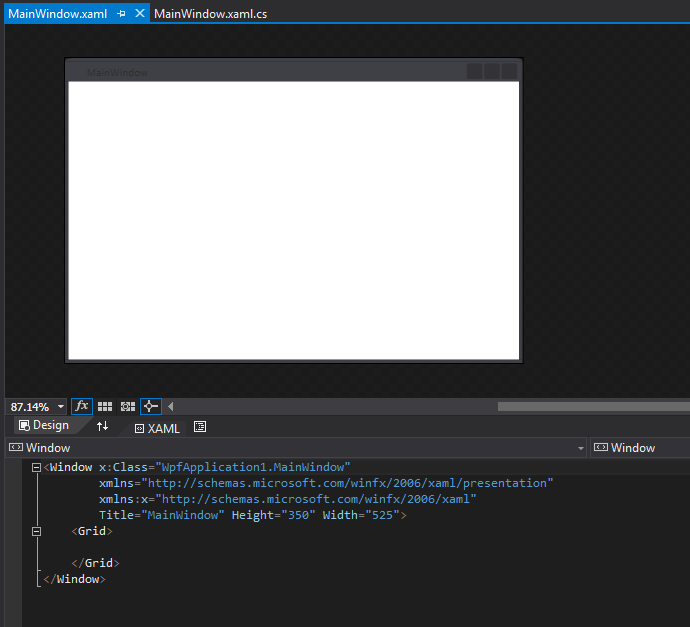
If you do not have any skills at building a GUI with WPF then it is the perfect time to achieve these. Later on i will show some examples and how the GUI works with the CodeBehind firstly targetted to beginners. But you should also read some basics by yourself.
One important point here – give all your objects which you want to use actively – a name and those to which no interaction is done – not.
Example: So you would give your textbox a name like x:Name=”tbWonderfulTextbox” but your label which shows the whole time “Wonderful Textbox” not. By this you save resources and it will keep things simple later on.
CodeBehind
The CodeBehind file contains all the events:
<#
.NOTES
===========================================================================
Created on: 08.10.2015
Created by: David das Neves
Version: 0.1
Project: GUI_Manager
Filename: GUI_Manager.ps1
===========================================================================
.DESCRIPTION
Code-Behind for GUI-Manager.
#>

#===========================================================================
#region functions

#endregion
#===========================================================================

#===========================================================================
#region PreFilling

$GUI_Manager.Add_Loaded(
        {
            Get-ChildItem $GUI_Manager_DialogFolder -Directory | % {
            $param=[PSCustomObject]@{
                    Name = $_.Name
                }
            $GUI_Manager_lvDialogs.Items.Add($param) | Out-Null
            $GUI_Manager.Activate()
        }
    }
)
I have set up some rules as mentioned before. And here these rules continue. For each object in XAML a variable in Powershell is created. But how do you manage so many variables in Powershell?
The window-variable gets the name of the dialog. In this example (btw this is the “exemplary” GUI-Manager!) the dialog is named “GUI_Manager”.
By adding this event
$GUI_Manager.Add_Loaded(
        {
          #some stuff
        }
)
the part for #some stuff is proceeded when the window is loaded. This is the perfect time to initialize all your GUI-objects. Putting list items into lists, filling textboxes – setting up the starting view for the user.
And now comes the fun part – but what is with the objects in the XAML file?
The objects will be named like this pattern – just straightforward:
DialogName_objectNameInXAML
Try to find the variables here:
        $GUI_Manager_lvDialogs.Add_SelectionChanged(
            {
                if ($GUI_Manager_lvDialogs.SelectedValue)
                {
                    foreach ($item in $GUI_Manager_lvDialogs.Items.Name)
                    {
                        if ($GUI_Manager_lvDialogs.SelectedValue.Name -ne $item)
                        {
                            Get-Variable -Name "$item*" | Clear-Variable -Scope Global
                            Get-Variable -Name "$item*" | Remove-Variable -Scope Global
                        }
                    }
                    $dialogName=$GUI_Manager_lvDialogs.SelectedValue.Name
                    $GUI_Manager_rXAML.IsChecked=$false
                    $GUI_Manager_rXAML.IsChecked=$true

                    Initialize-XAMLDialog -XAMLPath "$GUI_Manager_DialogFolder\$dialogName\$dialogName.xaml"
                    #Open-XAMLDialog -DialogName "$dialogName" -DialogPath "$GUI_Manager_DialogFolder\$dialogName" -OnlyCreateVariables
                    $GUI_Manager_lvVariables.Items.Clear()
                    $GUI_Manager_lvEvents.Items.Clear()

                    $variables = Get-Variable "$dialogName*"

                    foreach ($var in $variables)
                    {
                        if ($var -and $var.Name -and $var.Value)
                        {
                            $varValue=(($var.Value.ToString()).Replace('System.Windows.','')).Replace('Controls.','')

                            $param=[PSCustomObject]@{
                                Name =    "$($var.Name)"
                                Objekt =  "$varvalue"
                            }

                            $GUI_Manager_lvVariables.Items.Add($param)
                        }
                    }
                }
            }
        )
The nice thing about this is that you can create these variables with the function “Open-XAMLDialog” and the switch flag $OnlyCreateVariables in powershell with one click and afterwards you have intellisense for these objects. Getting things lot easier!
Additional functions
At last i have added a file ended on .psm1 which should contain additional functions or even act as a loader for outsourced code. For example:
<#
 .NOTES
===========================================================================
Created on: 11.10.2015
Created by: David das Neves
Version: 0.1
Project: PSGUI
Filename: loader.psm1
===========================================================================
.DESCRIPTION Loading functions for PSGUI module.
#>

. $PSScriptRoot\Initialize-XAMLDialog.ps1
. $PSScriptRoot\New-XAMLDialog.ps1
. $PSScriptRoot\Rename-XAMLDialog.ps1
. $PSScriptRoot\Open-XAMLDialog.ps1
. $PSScriptRoot\Install-PSGUIModule.ps1
. $PSScriptRoot\New-PackageByDialog.ps1
As for now i have completed my work to a first starting version 0.1 of my PSGUI project. The PSGUI module consists of these functions till now:
Initialize-XAMLDialog
Install-PSGUIModule
New-PackageByDialog
New-XAMLDialog
Open-XAMLDialog
Rename-XAMLDialog
Separately i have created the Dialog “GUI-Manager” – this dialog is the main target of the whole project to create GUIs easier.
Some functions of the GUI-Manager till now:
- Creating clean dialogs by one click
- Renaming dialogs
- loading and showing named controls
- showing the events for each control
- showing / editing all 3 consisting dialog files on one screen
- rendering and testing (after modification) the dialogs (!)
- creating autodeployment files for dialog (!)
- Creating events by doubleclick (!)
And now – “pass the sugar”!
Download
You can download it @ github
https://github.com/ddneves/PSGUI
The installer is in the main directory “PSGUI_Installer.exe” which should install the whole project by its own and deploying a link to the desktop. Tell me if not!
This is the first testing version – keep this in my mind if it doesn´t work on the first try. I will do some debugging, code review and extensions further on.
Take this version as POC – its proven that it works – now it must get stable, the designhungry people must be fed and it should get more (even cooler) functions.
The End. – till now.
Greetings,
David
